Leather jackets are timeless. But let’s be honest, sometimes they can start to look a little…tired.
The good news? You don’t have to throw it to the back of your closet (or worse, donate it!).
Here’s the secret: leather jackets can be brought back to life with a little paint!
In this post, we’ll walk you through everything you need to know about painting leather, from choosing the right paint to achieving a flawless finish.
You’ll be amazed at how easy – and rewarding! – it can be.
Key Pre-Painting Considerations
Leather is a beautiful and versatile material that can be transformed with a splash of color.
Before starting painting, it’s essential to understand the different aspects of leather and how they can influence the painting process.
1. Types of Leather Suitable for Painting
If you’ve got an old leather jacket, a pair of boots, or even a handbag you’re willing to transform, it’s crucial to know what type of leather you’re dealing with.
Smooth Leather: This type of leather has a sleek surface, making it ideal for painting. It’s often found in products like shoes, bags, and jackets.
Full-Grain Leather: Known for its durability and natural beauty, full-grain leather is excellent for painting. Its surface allows the paint to adhere well.
Vegetable-Tanned Leather: If you’re looking for a canvas that ages gracefully, vegetable-tanned leather is the way to go. It develops a rich patina over time, enhancing the painted design.
Faux Leather: While not genuine leather, faux leather can also be painted. It’s often made from synthetic materials and typically has a smooth, even surface that takes paint well.
2. Characteristics of Leather That Affect the Painting Process
Leather’s natural characteristics can significantly impact how your paint job turns out. Let’s break down a few key factors:
Texture: The texture of leather can vary from smooth to grainy, affecting how paint is applied and the final look of your artwork.
Absorbency: Leather has a porous nature, meaning it can absorb moisture and paint. Understanding its absorbency level helps in choosing the right painting techniques and materials.
Flexibility: Leather is flexible and can bend and stretch. It’s essential to use paints and sealants that withstand these movements to prevent cracking and peeling.
3. Choosing the Right Paint for Leather
There are different types of paint you can use on leather. Each type has its pros and cons, and the best one for you depends on your specific project.
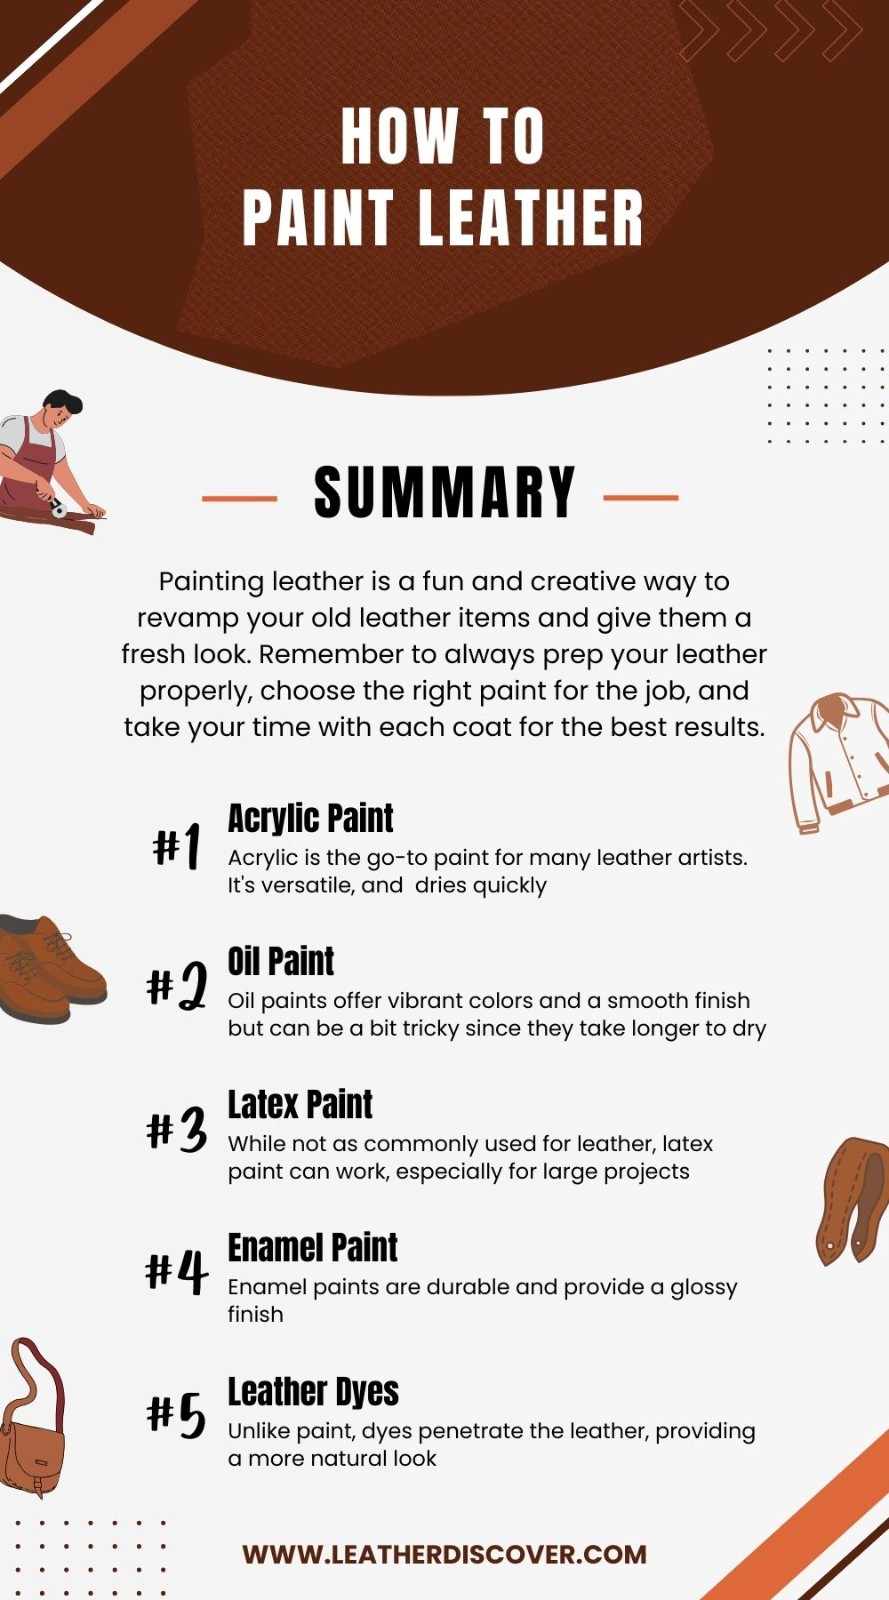
- Acrylic Paint: Acrylic is the go-to paint for many leather artists. It’s versatile, dries quickly, and is available in different colors.
- Oil Paint: Oil paints offer vibrant colors and a smooth finish but can be tricky since they take longer to dry. They’re also less flexible than acrylics, so they might not be ideal for items that will be frequently used or bent.
- Latex Paint: While not as commonly used for leather, latex paint can work, especially for large projects. It’s durable and flexible, but seal it properly to ensure it stays put.
- Enamel Paint: Enamel paints are durable and provide a glossy finish, making them suitable for items like belts or wallets that undergo a lot of wear and tear. T
Step-by-Step Guide to Painting Leather
Whether you’re a beginner or a seasoned DIYer, this step-by-step guide will walk you through the process to get fantastic results.
1. Gather Your Materials
First things first, let’s get all the materials you’ll need:
- Leather items (shoes, jacket, bag, etc.)
- Acrylic paint (or your chosen type: oil, latex, enamel)
- Leather primer)
- Brushes (various sizes)
- Fine-grit sandpaper
- Damp cloth
- Leather degreaser (optional)
- Sealant (for finishing)
2. Clean the Leather
You wouldn’t paint a dirty wall, right? The same goes for leather
- Mix a few drops of mild dish soap with water.
- Dampen your soft cloth or sponge with the solution and gently scrub the leather.
- Wipe the leather with clean water to remove soap residue.
- Let it air dry completely.
3. Sand the Surface (If Necessary)
- Grab that fine-grit sandpaper (400-grit is perfect).
- Gently rub the surface in a circular motion.
- Wipe away any dust with a dry cloth.
This step helps the paint stick better. I’ve found it especially useful on old leather bags that had a bit of a shine.
4. Apply a Primer (Optional)
Applying a leather primer can make a world of difference.
- Apply a thin, even coat of leather primer.
- Let it dry thoroughly according to the instructions.
If you don’t have primer, don’t sweat it. I’ve used a diluted mix of leather paint as a base coat and it worked fine.
5: Mask Off Areas (if necessary)
Want to keep certain areas paint-free? Painter’s tape is your best friend.
- Carefully apply the tape to the areas you don’t want to paint.
- Press down the edges to prevent paint from seeping under.
When I painted my leather wallet, I used tape to keep the edges clean, and it made a huge difference in the final look.
6. Start Painting
Now for the fun part!
- Shake your paint bottle well before use.
- Pour a small amount of paint onto a palette or a disposable plate.
- Dip your brush or sponge into the paint and apply a thin, even coat to the leather. Thin layers prevent cracking and peeling.
- Allow the first coat to dry completely before applying the next.
Here are some painting methods you can use:
Brush Painting: Use various brush sizes for different parts of your design. Start with larger areas and gradually move to details.
Stenciling: Secure your stencil to the leather with tape or adhesive spray. Apply the paint using a sponge or brush, dabbing lightly to avoid bleeding under the stencil. Carefully remove the stencil while the paint is still wet for clean edges.
Stamping: Use leather stamps to create patterns. Apply paint to the stamp with a brush, then press firmly onto the leather. This technique works well for repetitive designs and adds a unique touch.
7. Apply a Sealant
To protect your masterpiece, apply a sealant.
- Choose a clear acrylic finish or a leather-specific sealant.
- Apply a thin, even coat using a clean brush or sponge.
- Let it dry thoroughly.
My painted boots still look great after months of wear, thanks to a good sealant.
8. Let It Dry and Cure
Proper drying and curing are crucial in ensuring your painted leather piece looks great and lasts a long time.
Allowing the paint to dry completely between layers and after the final coat is vital.
If the paint is not dry, it can smudge, peel, or crack, ruining your hard work.
Different paints have different drying times:
- Acrylic Paint: Dries quickly, usually within 15-30 minutes between layers. However, it’s best to wait 24 hours before applying a sealant.
- Oil Paint: Takes much longer to dry, often 24 hours between layers. Full drying can take several days to weeks, depending on the thickness of the paint.
- Latex Paint: Dries within 1-2 hours between layers, but like acrylics, it’s best to wait 24 hours before sealing.
- Enamel Paint: Dries to the touch within 1-2 hours, but it’s advisable to wait at least 24 hours before handling or applying a sealant.
Curing is different from drying.
It involves letting the paint set and harden fully, which enhances its durability.
Source: Shop Tool Reviews YT Channel
What Paint is Best for Leather?
Acrylic paint is best for leather. It’s flexible, adheres well, and comes in vibrant colors. Plus, it dries quickly and is easy to work with
I’ve used Acrylic Paint on a variety of projects, from shoes to bags. The colors are vibrant, and the paint goes on smoothly
How to Use Leather Acrylic Paint
So, you’ve got some leather acrylic paint and you’re ready to give your leather items a fresh look? Awesome! Let’s walk through the process step-by-step
Prep Your Leather: Give it a good wipe-down with a damp cloth to clean off any gunk. If it’s a bit oily, hit it with some leather degreaser.
Sand It Smooth: If your leather’s feeling too smooth, gently rough it up with some fine-grit sandpaper. It helps the paint stick better.
Primer (Optional): Priming isn’t always necessary, but it can improve paint adhesion and durability. I’ve skipped primer before and still got good results, but if you want to be extra thorough, go for it!
Paint Away: Grab your brushes and start painting! Let each layer dry before adding more.
Detail Delight: Paint the bigger areas first, then add those intricate details. It’s like coloring, but way cooler.
Dry, Dry, Dry: Give your artwork time to dry between layers. Acrylic paint dries pretty fast, but waiting 24 hours is best to be sure.
Seal the Deal: Once your design’s done, seal it with a leather sealant. It’s like giving it a protective shield for the adventures ahead.
Common Mistakes to Avoid When Painting Leather
Painting leather can be a rewarding DIY project, but there are some common mistakes to watch out for
Applying too much paint at once can lead to uneven coverage, cracking, or peeling. Opt for thin layers and build up the color gradually for a smooth finish.
One of the biggest mistakes people make is neglecting to clean the leather before painting. Dirt, oils, and residues can interfere with paint adhesion, leading to a patchy or uneven finish
Patience is key when drying leather paint. Rushing the process can cause smudging or smearing of the paint. Allow each layer to dry completely before applying the next.
Failing to seal the paint leaves it vulnerable to damage from moisture, dirt, and wear. Apply a suitable sealant to protect the painted surface and enhance its longevity.
Source: The Interior Lyfe YT Channel
Conclusion
And there you have it! Painting leather is a fun and creative way to revamp your old leather items and give them a fresh look.
Remember to always prep your leather properly, choose the right paint for the job, and take your time with each coat for the best results.
Don’t be afraid to get creative with colors and designs – the possibilities are endless!
Whether beautifying an old handbag or giving your favorite pair of shoes a makeover, painting leather is a great way to add a personal touch to your wardrobe.
I hope this guide has been helpful and inspiring. Happy painting, and don’t forget to have fun with it!
Resources Consulted

- What Is Caiman Leather? A Detailed Guide - July 25, 2024
- What Is Tumbled Leather?A Complete Guide - July 25, 2024
- What Is Kip Leather? Premium Leather Choice - July 24, 2024