Leather boots are a stylish and versatile accessory for any wardrobe.
However, sometimes the color of the boots might not perfectly align with your desired aesthetic or outfit.
Dyeing leather boots is a great way to refresh their appearance and extend their lifespan.
You can transform your leather boots into customized masterpieces with the right tools, techniques, and patience.
This blog will walk you through the step-by-step process of dyeing leather boots like a pro.
How to Dye Leather Boots?
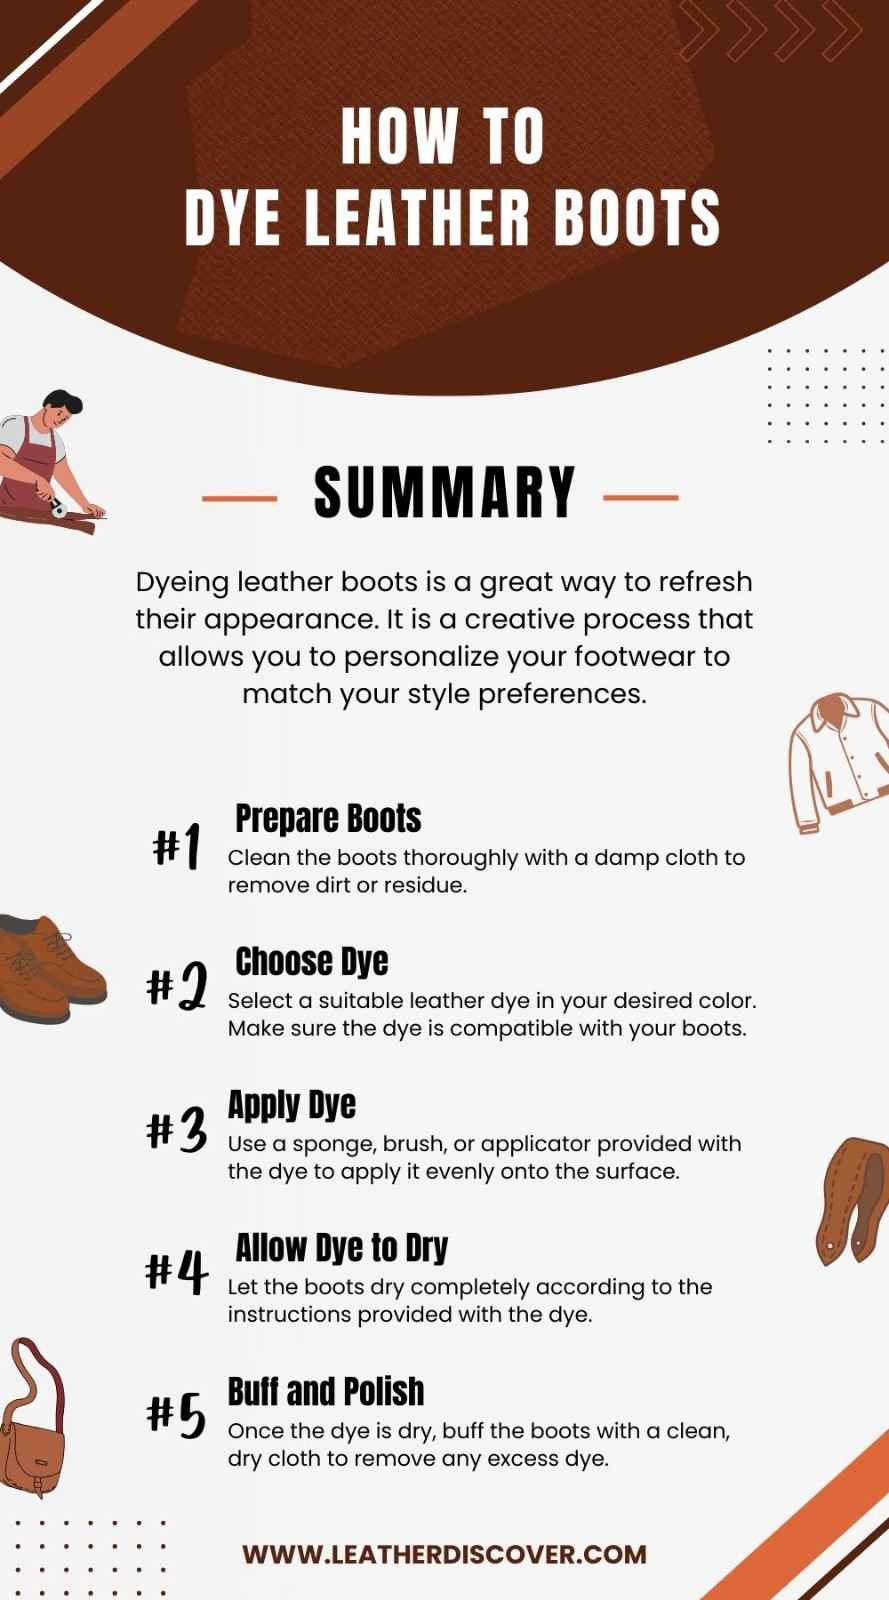
Dyeing leather boots is a creative process that allows you to personalize your footwear to match your style preferences.
Here’s a step-by-step guide on how to dye leather boots effectively:
| Step | Description |
|---|---|
| 1. Prepare Boots | Clean the boots thoroughly with a damp cloth to remove dirt or residue. |
| 2. Choose Dye | Select a suitable leather dye in your desired color. Consider the type of leather your boots are made from and ensure the dye is compatible. |
| 3. Protect Surroundings | Lay down protective coverings such as newspapers or a drop cloth to prevent dye spills from staining your work surface. |
| 4. Apply Dye | Use a sponge, brush, or applicator provided with the dye to apply it evenly onto the surface of the boots. |
| 5. Allow Dye to Dry | Let the boots dry completely according to the instructions provided with the dye. This may take several hours or overnight, depending on the product used. |
| 6. Buff and Polish | Once the dye is dry, buff the boots with a clean, dry cloth to remove any excess dye and enhance the shine. |
| 7. Apply Finisher | Apply a leather finisher or conditioner to seal in the color and provide added protection to the boots. |
| 8. Let Cure | Allow the boots to cure for at least 24 hours before wearing them to ensure the dye sets properly and doesn’t transfer onto other surfaces. |
| 9. Repeat (If Necessary) | Depending on the desired color intensity, you may need to apply additional coats of dye, allowing each layer to dry completely before adding the next. Repeat this process until you achieve the desired shade. |
| 10. Enjoy Your Newly Dyed Boots | Once the dyeing process is complete and the boots have cured, you can proudly wear and flaunt your refreshed leather boots in the new color! |
Following these steps, you can successfully dye your leather boots and give them a new lease on life with a fresh, personalized color. Enjoy your customized footwear!
Source: Scented Style YT Channel
What Is The Best Dye For Leather Boots?
Choosing the best dye for leather boots depends on several factors, including the type of leather, the desired color, and the level of durability you’re looking for.
Here are some popular options that are widely regarded as effective for dyeing leather boots:
1. Fiebing’s Leather Dye
Fiebing’s is a well-known brand in the leathercraft industry, and its leather dyes are highly regarded for their quality and color selection.
They offer various colors and finishes, including oil-based and alcohol-based dyes.
2. Angelus Leather Dye
Angelus is another reputable brand that offers high-quality leather dyes.
Their dyes are known for their vibrant colors and long-lasting results. They offer both water-based and alcohol-based dyes, providing options for different preferences and needs.
3. Tandy Leather Eco-Flo Leather Dye
Tandy Leather is a trusted name in the leathercraft community, and their Eco-Flo leather dyes are popular for their environmentally friendly formula.
These water-based dyes offer excellent coverage and color options while being safe and easy to clean up.
4. Jacquard Procion MX Fiber Reactive Dye
Jacquard’s Procion MX dyes are primarily used for dyeing fabric, but can also be used on leather with excellent results.
These dyes are known for their vibrant colors and colorfastness, making them a great choice for dyeing leather boots.
5. Saphir Medaille d’Or Leather Dye
Saphir is a luxury brand known for its high-quality leather care products.
Their leather dyes are no exception, offering rich colors and excellent coverage. While they may be pricier than other options, they are often favored for superior quality.
Factors To Consider While Dyeing Leather Boots
When dyeing leather boots, it’s important to consider several factors to achieve the desired result. Here are some key points to keep in mind:
- Type of Leather: Different types of leather may require different dyeing techniques. Full-grain leather, for example, can absorb dye more evenly than corrected-grain leather. It’s essential to know the type of leather your boots are made of and choose a suitable dye accordingly.
- Preparation: Properly prepare the leather surface before starting the dyeing process. Clean the boots thoroughly to remove dirt, dust, and existing finish.
- Color Choice: Select a dye color that complements the boots’ style and desired outcome. Test the dye on the small, inconspicuous area to see how it will look once applied.
- Dyeing Method: There are various methods to dye leather boots, such as using dye applicators, brushes, sponges, or airbrushes. Choose a method that suits your preferences and allows you to apply the dye evenly.
- Protection: Consider using a leather sealer or finisher after dyeing the boots to protect the color and prevent it from fading or rubbing off.
- Drying Time: Allow the dyed boots to dry completely between coats before wearing them.
- Cleanup: Clean your tools and work area promptly after dyeing the boots to prevent stains and ensure the longevity of your equipment.
By considering these factors and taking the necessary precautions, you can successfully dye leather boots and give them a fresh new look that suits your style and preferences.
How Long Does It Take To Dye Leather Boots?
The time it takes to dye leather boots can vary based on factors such as the type of leather, the dye you are using, and the desired outcome.
Here’s a general overview of the steps involved and an estimated timeline:
- Before dying, clean the boots thoroughly to remove dirt, grime, or previous finishes. This can take around 15-30 minutes.
- The actual application of the dye can take around 15-30 minutes per coat, depending on the coverage you want to achieve.
- After each coat of dye, the boots dry completely before applying the next coat. This can take anywhere from 30 minutes to a few hours, depending on the type of dye and the leather’s absorbency.
- Once you’ve achieved the desired color, you may need to apply a finish or sealant to protect the dye and give the boots a polished look. This step can add another 15-30 minutes to the process.
- Overall, you can expect the dyeing process to take anywhere from a few hours to a full day, depending on the number of coats needed and the drying time between each coat.
It is crucial to carefully follow all instructions and allow enough time for each step to achieve optimal results.
Conclusion
Dyeing leather boots is a rewarding DIY project that can breathe new life into your favorite footwear.
Remember to take your time, be patient, and enjoy the process of creating a custom look that reflects your style.
With proper care and maintenance, your dyed leather boots will continue to make a stylish statement for years.
Resources Consulted

- What Is Caiman Leather? A Detailed Guide - July 25, 2024
- What Is Tumbled Leather?A Complete Guide - July 25, 2024
- What Is Kip Leather? Premium Leather Choice - July 24, 2024