We’ve all been there, one tiny slip and suddenly your favorite leather jacket, wallet, or sofa has a stubborn blob of superglue stuck to it.
Panic sets in, right?
Leather is delicate, and the last thing you want is to make a permanent mess while trying to fix it.
The good news?
Removing superglue from leather without ruining it is totally possible, you just need the right approach and a little patience.
In this guide, we’ll walk you through easy, safe, and surprisingly effective ways to rescue your leather items and get them looking pristine again.
Say goodbye to sticky disasters and hello to stress-free cleanup!
Precautions Before Removing the Glue
Before removing superglue from your leather items, it’s essential to consider a few key factors.
- Check whether the glue is wet or dried because fresh glue is much easier to remove and less likely to leave permanent marks on your leather.
- Consider the type of leather you are working with, as delicate finishes or bonded leather can react differently to cleaning solutions and require extra care.
- Test any cleaning solution on a hidden area first to ensure it won’t cause discoloration, stains, or damage to the leather surface.
- Gather all the necessary items like a soft cloth, mild soap, warm water, or leather-safe cleaner before starting to prevent rushing and accidental mistakes.
- Make sure you are working in a well-ventilated area if using any solvent or chemical, to avoid inhaling fumes that could be harmful.
- Be gentle and avoid using abrasive tools or excessive force, as even a small scratch can permanently damage the leather texture.
- After removing the glue, apply a leather conditioner to restore moisture, maintain flexibility, and keep the leather looking smooth and fresh.
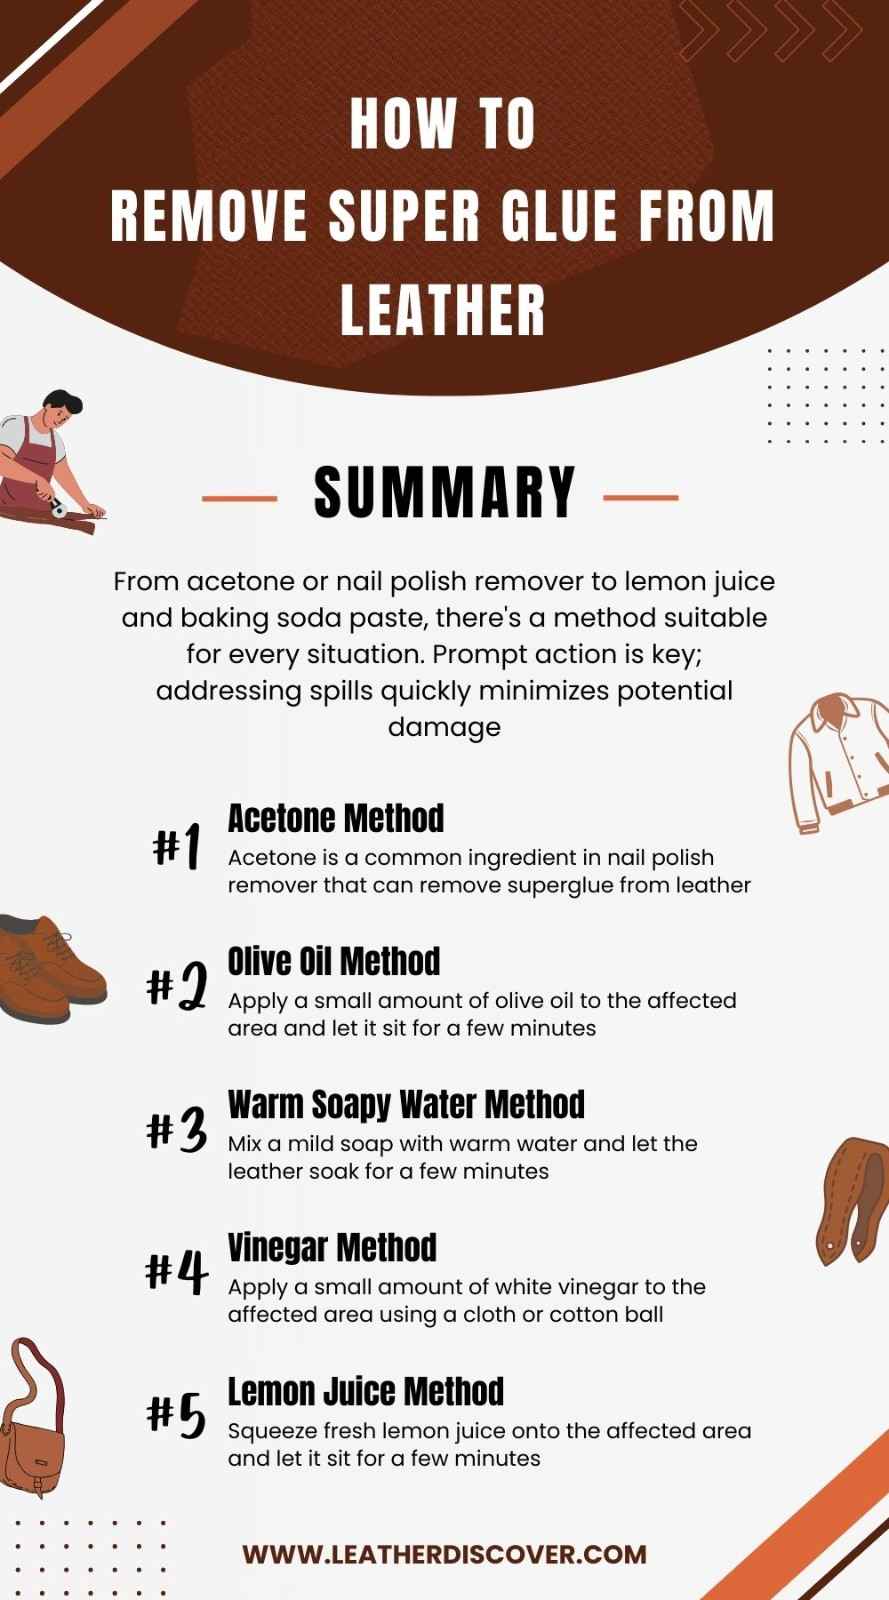
How to Remove Super Glue From Leather?
Let’s explore the methods for removing superglue from leather. I’ve tried a few of these methods myself, so I’ll share what worked for me and hopefully, it’ll help you too.
1. Assess the Glue’s State
Before attempting to remove superglue, check whether the glue is wet or has dried completely.
Wet glue can often be lifted gently with a soft cloth without leaving a permanent mark, while dried glue requires careful softening to avoid scratching the leather.
Understanding the glue’s condition will help you choose the most effective method without damaging the surface.
The size and thickness of the glue spot also affect how you approach it.
A small droplet may respond quickly to gentle methods, while a thicker patch may need repeated softening or careful scraping. Observing the glue’s consistency first reduces the risk of spreading or embedding it deeper into the leather.
2. Gather Materials
- Soft cloths or paper towels for blotting and cleaning
- Cotton swabs for precision application of cleaning solutions
- Warm soapy water for light stains
- Acetone-free nail polish remover for stubborn glue
- Plastic scraper to lift softened glue
- Leather conditioner to restore moisture
Preparing all tools and solutions before starting prevents mistakes and allows each step to be carried out efficiently. Having a clean workspace with paper towels or a cloth under the leather item also helps contain any accidental spills or drips.
3. Cleaning Solutions
Test any cleaning solution on a hidden area of the leather before applying it to the glue. Some leather finishes are sensitive to chemicals and may discolor, darken, or peel if exposed to solvents.
By trying the solution first in an inconspicuous spot, you ensure that it is safe for the main area.
Observe how long the solution can safely remain on the leather.
Some leathers tolerate brief contact with mild cleaners, while others need just a light touch. Testing gives you confidence to proceed without risking visible damage.
4. Apply Warm Soapy Water
For minor or fresh glue stains, warm soapy water can be effective. Dampen a soft cloth and gently blot the glue spot, letting the moisture soften it.
Avoid rubbing, which can spread the glue or push it deeper into the leather fibers. Wipe the area with a clean damp cloth and let it air dry.
If the glue is partially dried, repeat the process carefully until it loosens enough to remove. Patience is key. Gradual softening preserves the leather’s texture and prevents damage that harsher chemical approaches might cause.
5. Use Acetone-Free Nail Polish Remover
- Apply a small amount of acetone-free nail polish remover to a cotton swab
- Dab gently onto the glue, letting it soften slowly
- Lift the glue carefully using a plastic scraper or fingernail, layer by layer
- Wipe off any residue with a clean, damp cloth
- Pat the area dry and let it air dry completely
This method works for tougher, dried glue. Using a small amount of remover and working slowly avoids harming the leather’s surface while effectively loosening stubborn glue.
6. Condition the Leather After Cleaning
After glue removal, the leather may feel dry or rough. Apply a leather conditioner with a soft cloth and massage it in gently. The conditioner restores lost moisture, softens the surface, and keeps the leather flexible.
Regular conditioning also protects the leather from future damage.
It maintains the natural sheen, prevents cracking, and improves resilience against everyday wear and tear. Skipping this step may leave the leather vulnerable even after successful glue removal.
Common Mistakes to Avoid
Avoiding the following common mistakes can help ensure a successful removal process without damaging your leather items.
- One of the biggest mistakes you can make is skipping the test spot. Always, and I mean always, test any solution or method on a hidden area of your leather item first.
- Less is more when it comes to applying solutions to leather. Whether it’s vinegar, acetone, or a commercial adhesive remover, use these products in a small quantity.
- Rubbing too hard can damage the surface, causing discoloration or abrasion. Be gentle and take your time.
- Skipping the conditioning step can leave the leather dry and more prone to damage. I once forgot to condition my leather jacket after using vinegar to remove glue. A week later, I noticed the spot looked dried out and started to crack.
- Avoid using sharp tools like knives or metal scrapers. These can easily scratch and damage the leather.
In a desperate attempt to scrape off glue, I used a metal knife on my leather book cover.
The scratches left behind were far worse than the glue itself.
Leather doesn’t like water. Overwetting the leather can cause it to become stiff and damaged. Use damp cloths, not soaking wet ones.
Preventing Future Mishaps
Here are some tips to keep your leather safe and glue-free:
- Cover your leather items with a protective cloth if you have to work with glue nearby. This adds an extra layer of protection against accidental spills. I always lay down some old newspapers or a cloth when working with glue.
- Wearing gloves while using super glue can prevent it from getting on your hands, which then could transfer to leather items. Disposable gloves are a great option.
- Applying super glue sparingly can reduce the risk of overflow and accidental drips. A little goes a long way with these powerful adhesives. I use just a drop or two, which is usually more than enough.
- Make sure the glue bottle is stable and won’t tip over easily. You can place it in a small cup or holder to keep it upright while working.
- As soon as you’re done using the glue, close the cap tightly. This prevents spills if the bottle gets knocked over and keeps the glue from drying out.
- Educate yourself on safe cleaning methods for different types of leather. Not all leather is created equal, and certain cleaning may be more suitable for specific types of leather.
Caution:
Have a cleanup kit nearby when working with super glue. Include items like acetone, cotton swabs, and a soft cloth. Having a cleanup kit ready has saved me more than once.
Source: WD-40 Company Australia
When to Seek Professional Help for Superglue on Leather
Removing superglue from leather can become risky if the glue has penetrated deep into the fibers, covers a large area, or if the item is particularly valuable, such as a designer handbag, high-end jacket, or antique furniture.
Attempting DIY methods in these cases can easily cause permanent discoloration, scratches, or texture damage. Professional leather cleaners have specialized tools and solvents that safely lift stubborn glue while preserving the leather’s finish and flexibility.
Delicate leather types, including suede or nubuck, require extra caution. Incorrect handling or exposure to liquids and solvents can leave lasting stains or marks.
Professionals can accurately assess the leather type, the glue’s composition, and the extent of the spill, applying the safest removal method.
They also restore the leather afterward with conditioners and finishing products, keeping the item looking as close to its original state as possible.
Conclusion
Accidents happen, and a drop of superglue on your favorite leather doesn’t have to ruin it. With careful observation, the right materials, and a steady hand, you can lift even stubborn glue without leaving a mark.
The key is patience, precision, and finishing with proper conditioning so your leather stays soft, smooth, and vibrant.
Follow these steps, and you won’t just remove the glue, you’ll bring your leather back to looking as good as new, almost like the spill never happened.
Resources Consulted

- What Is Caiman Leather? A Detailed Guide - July 25, 2024
- What Is Tumbled Leather?A Complete Guide - July 25, 2024
- What Is Kip Leather? Premium Leather Choice - July 24, 2024