Ever looked at a pair of leather shoes and thought, “Can I dye leather shoes to match a new outfit?”
Well, wonder no more, because the answer is a resounding YES!
From personal experience, let me tell you, dyeing leather shoes is not just a possibility—it’s a game-changer.
Dyeing leather shoes opens up a whole world of possibilities for customization and self-expression.
In this blog, I’ll walk you through everything you need to know about dyeing leather shoes.
We’ll cover the essential steps: preparing the shoes, choosing the right dye, applying it correctly, and ensuring your hard work lasts.
Trust me, it’s easier than you might think, and the results can be spectacular.
Why Dye Leather Shoes?
You can dye leather shoes, and there are plenty of great reasons to do so!
Refresh Old Shoes: Instead of tossing your worn-out leather shoes or relegating them to the back of your closet, you can dye them and make them look brand new. I had this old pair of boots that I couldn’t part with, and after dyeing them a rich, deep brown, they looked like something straight out of a high-end store
Customize Color: Another great reason to dye leather shoes is the ability to customize the color. Maybe you’ve found the perfect pair of shoes, but they’re not in the right color. Dyeing gives you the freedom to match your shoes exactly to your style or a specific outfit.
Sustainable Fashion: Dyeing leather shoes is also a great move for sustainable fashion. Instead of buying new shoes and contributing to consumer waste, renew existing pairs. It’s an eco-friendly option that reduces waste and makes the most of the items you already have.
Fun DIY Project: Lastly, dyeing leather shoes can be a fun and creative DIY project. If you enjoy hands-on activities, this is a great way to spend an afternoon.
Types of Leather Suitable for Dyeing
Alright, let’s talk about the types of leather that are best suited for dyeing.
Full-Grain Leather: This is the highest quality leather you can get, made from the top layer of the hide. When it comes to dyeing, it’s an excellent choice because it absorbs dye well, resulting in a rich and deep color.
Top Grain Leather: This type of leather also takes dye well, although it might not achieve the same depth of color as full-grain. I dyed a top-grain leather handbag once, it came out with a lovely, smooth finish.
Suede and Nubuck: Suede and nubuck are more delicate types of leather that require special care when dyeing. Both types are highly absorbent, which means they can take dye well, but you need to use products specifically designed for them.
Patent Leather: Patent leather is not suitable for dyeing. Its coating prevents the dye from penetrating the surface, so if you’re looking to change the color of a patent leather item, you might need to consider other methods, like using specialized leather paints.
Faux Leather: Faux leather can sometimes be dyed, but it’s trickier than working with real leather. The dye might not absorb, and the finish can be inconsistent.
Choosing the Right Dye
The right dye can make all the difference between a professional-looking result and a DIY project gone wrong. Let’s break down the types of dyes available and how to choose the perfect color.
1. Types of Dyes
Water-Based Dyes: Water-based dyes are a popular choice for several reasons. They’re easy to use, non-toxic, and clean up with just soap and water.
Alcohol-Based Dyes: Alcohol-based dyes penetrate deeply into the leather, providing vibrant and long-lasting color. These dyes are excellent for achieving bold, intense hues.
Oil-Based Dyes: Oil-based dyes offer a rich, luxurious finish that can be very appealing. However, they can be challenging to apply evenly, as the oil can sometimes cause the dye to spread unevenly.
2. Color Selection
Choosing the right color is just as important as selecting the type of dye. Here are some tips to help you make the best choice:
Consider the Base Color: If you aim for a bold color change, starting with a lighter base can help you achieve a more accurate and vibrant final color. Dyeing over a dark base might result in a muted or uneven finish.
Test First: Always test the dye on a small, inconspicuous area of the shoe first.
Color Layering: For custom shades, you can layer different colors. Start with a base coat of one color and then add another. I once wanted to dye a pair of leather sandals a bright teal. After testing a small section, I realized the color was too intense for my taste. I mixed a bit of white dye into the teal and created the perfect color.
The Dyeing Process: Transform Your Leather Shoes Step-by-Step
Here’s a comprehensive guide on the dyeing process, including the materials you’ll need and how to prepare your shoes before you start.
1. Materials You’ll Need
Before you begin, gather all the necessary materials to ensure a smooth and efficient dyeing process:
Leather dye
Leather cleaner or saddle soap
Leather preparer or deglazer
Painter’s tape
Soft cloths or rags
Sponge or dye brush
Gloves
Newspaper or drop cloth (to protect your workspace)
Leather conditioner
Leather sealer
2. Stripping Old Dye
It is important to strip away the old dye when working with leather that has been dyed previously. This is done to prevent any interference from the old color on the new one.
Clean your shoes thoroughly with a leather cleaner or saddle soap to remove surface dirt and oils.
Put on your gloves to protect your skin from the chemicals. Soak a clean cloth with a leather preparer or deglazer and gently rub it over the entire surface of the shoes.
Allow the shoes to dry completely after applying the deglazer. This usually takes about 30 minutes.
Once dry, check the leather for any leftover residue. If the shoes still feel greasy or look uneven, repeat the deglazing process.
3. The Dyeing Process
Here’s a table that outlines the dyeing process for leather shoes:
Step
Description
1. Clean the Shoes
Give your shoes a gentle wipe-down with a damp cloth to remove dirt and dust. I use a toothbrush for cleaning tricky areas like stitching and seams
2. Remove the Finish
Use a leather preparer or deglazer to remove any existing finish on the leather.
3. Tape Off Non-Leather Areas
Use painter’s tape to cover areas you don’t want to dye, such as the soles or hardware.
4. Test the Dye
Test the dye on a small, hidden area to be sure that you love the color and it adheres well.
5. Apply the Dye
Apply the dye in thin, even layers, allowing each layer to dry completely before adding the next.
6. Buff and Condition
Once the dye is set, buff the shoes with a soft cloth to remove any excess dye. Then, apply a conditioner to keep the leather soft and supple.
7. Drying
Let the shoes dry naturally in a well-ventilated area, away from direct sunlight and heat sources.
8. Apply a Sealant
Don’t skip the sealer to maintain the color and protect your work.
9. Maintenance
Regularly clean and condition your dyed shoes to keep them looking their best.
5 Common Mistakes to Avoid
Here are some things to watch out for:
1. Using the Wrong Dye
Using a dye not specifically formulated for leather can lead to a color that fades quickly or doesn’t adhere well.
I once grabbed a random dye without checking if it was suitable for leather. Guess what? The color faded within weeks.
2. Forgetting to Test
Always test the dye on a small area of the shoe to ensure you’re happy with the color and application method.
Testing the dye on a small spot saved me from disaster once.
I thought I had the perfect shade of blue, but it turned out way too dark for my liking. Testing first saved me from ruining the whole pair!
3. Rushing the Drying Process
Allow each coat of dye to dry completely before applying the next one to avoid smudging and uneven color.
4. Skipping Sealing
Sealing the dye with a leather sealer is crucial to protect the color and finish from fading or rubbing off.
5. Forgetting to Protect Non-Dyed Areas
Use painter’s tape or barrier cream to protect areas you don’t want to dye, like the soles or hardware.
One time, I forgot to tape off the soles of my shoes. You can imagine the mess—I had dye all over the bottoms.
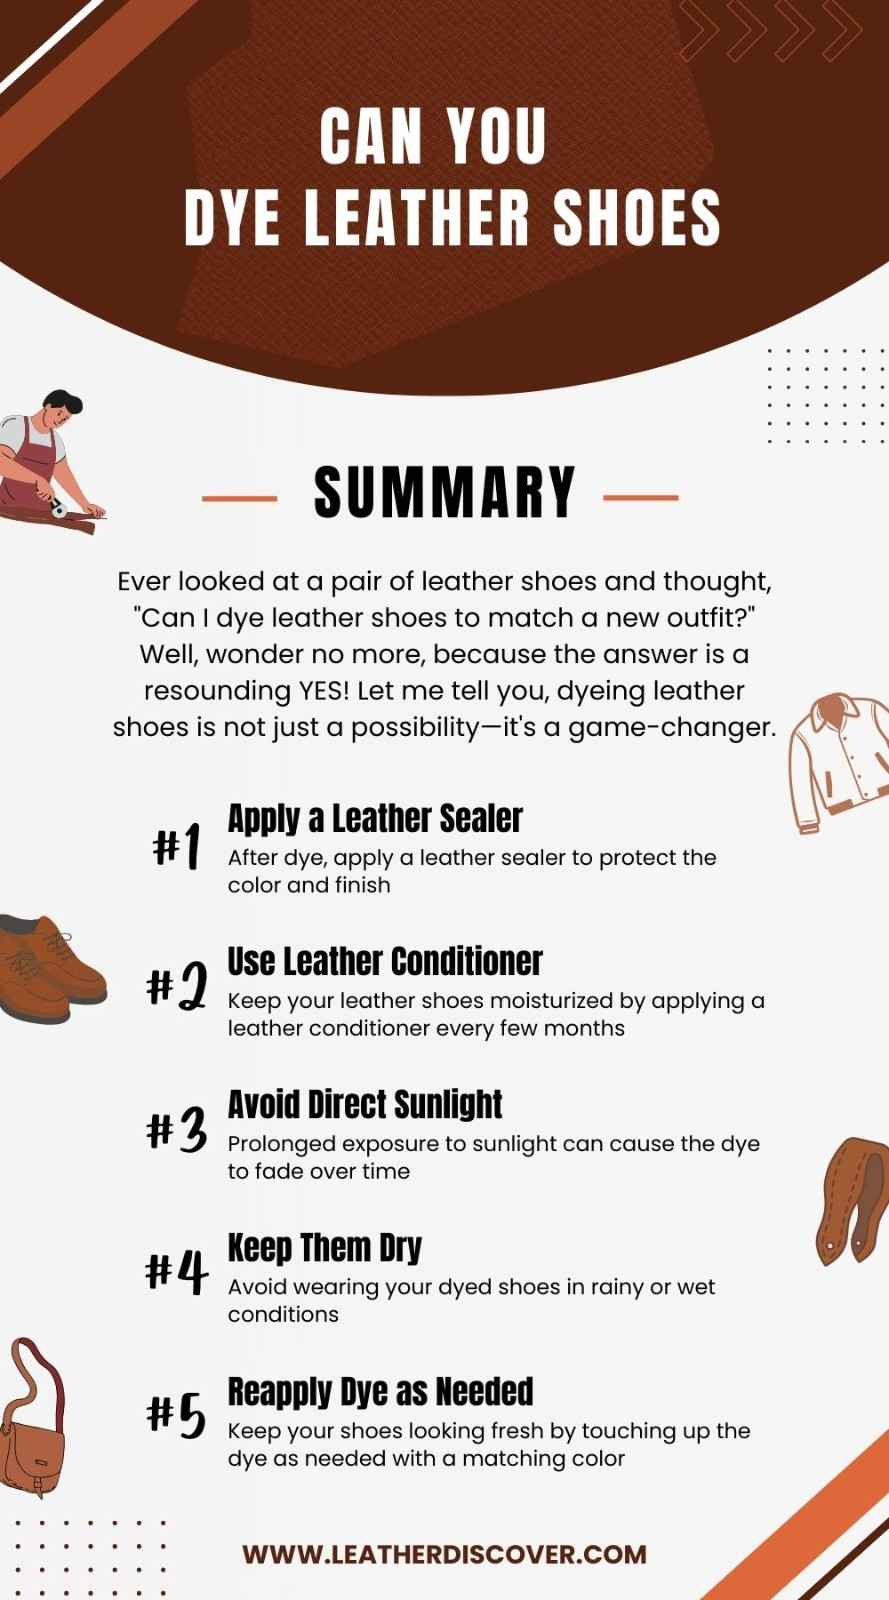
Essential Tips for Preserving Dyed Leather Shoes
Once you’ve beautifully dyed your leather shoes, you’ll want them to look vibrant and fabulous for as long as possible. Here’s how to protect your newly dyed kicks:
After dye, apply a leather sealer to protect the color and finish. This creates a barrier that helps prevent fading and color transfer.
Keep your leather shoes moisturized and supple by applying a leather conditioner every few months.
Prolonged exposure to sunlight can cause the dye to fade over time. Store your dyed shoes away from direct sunlight.
Avoid wearing your dyed shoes in rainy or wet conditions, and if they do get wet, let them air dry naturally away from direct heat sources.
Over time, the dye on your shoes may start to fade or wear away, especially in high-traffic areas. Keep your shoes looking fresh by touching up the dye with a matching color.
James Chiles is a distinguished expert in the realm of leather craftsmanship, boasting over twenty years of hands-on experience and a suite of prestigious certifications including Certified Leather Technician (CLT) and Master Craftsman in Leatherworking. His journey into leatherworking began in his formative years, where he imbibed traditional techniques from his family lineage, fostering a profound passion for the art. With a steadfast commitment to sustainability, James holds a LEAP certification, reflecting his dedication to environmentally-conscious practices in leather manufacturing. James Chiles draws inspiration from two titans of the leathercraft world, Ian Atkinson and Nigel Armitage, whose profound impact has shaped his journey and fueled his passion for excellence.