Can you embroider leather? Absolutely, yes!
It’s not just a possibility; it’s a delightful journey waiting for you.
Whether you’re an embroidery enthusiast or a curious beginner, the possibility of transforming plain leather into a canvas of creativity is undeniably tempting.
For me, it’s not just about creating art; it’s about weaving stories, emotions, and memories into every stitch.
In this blog, I will share everything you need to know about embroidering leather.
We’ll cover the essential tools and materials, how to prepare your leather, the best techniques for stitching, and some handy tips to troubleshoot common issues.
You’ll feel confident and inspired to start your leather embroidery projects by the end.
Preparing Leather for Embroidery
Embroidering on leather opens up a world of creative possibilities, but before you grab your needle and thread, let’s explore some key factors to keep in mind:
Type of Leather: Not all leathers are created equal, right? With its smooth surface and durability, full-grain leather is often preferred for embroidery. However, softer leathers like lambskin or suede can also be carefully embroidered.
Thickness and Texture: Consider leather like a good book—it comes in all shapes and sizes. Thicker leather may require stronger needles and more robust stitching techniques, while softer leather may be more delicate and prone to stretching.
Preparation and Conditioning: Give your leather a little TLC before stitching. Clean it up nicely and properly to get rid of dirt or oils that might mess with your stitching. And hey, a little conditioning we’ll make your leather more flexible and easier to work with.
Using a Hoop or Frame: Hooping provides stability and helps maintain tension, but can leave hoop marks. Framing offers more flexibility and reduces the risk of marks but may require more effort to keep the fabric tight.
Stabilization: Using a stabilizer is essential to maintain the integrity of your stitches and prevent distortion of the leather.
Needles and Threads: Choosing the right needles and threads is paramount when embroidering leather. Opt for needles with a size between 80/12 and 100/16, depending on the thickness of your leather. Aim for threads with a thickness of around 40 to 60 weight, so they’re not too thin and not too thick, just right.
Design Complexity: Keep it simple, friend! While you might be tempted to go all out with intricate designs, remember that leather has limits. Stick to bold, straightforward designs.
Embroidery Techniques: Certain embroidery techniques may be more suitable for leather than others. For example, satin stitch and backstitch are commonly used for their durability and ability to lay flat on the leather surface
Finishing and Care: Last but not least, don’t forget the finishing touches. Once your embroidery is complete, secure those threads and give your leather creation the love and care it deserves.
Mastering the Art: Selecting the Ideal Embroidery Pattern
When selecting a design, there are a few things to consider to ensure it complements the texture and durability of leather.
First, think about the size and complexity of the design. Intricate designs with lots of small details can be challenging to embroider on leather, especially if it is thin or delicate.
Opting for simpler designs with bold lines and shapes may be more effective and visually appealing.
Consider the style and theme of your leather item.
Whether you’re working on a jacket, bag, or wallet, choose an embroidery design that aligns with the overall look you’re going for.
For example, a floral design might be perfect for a bohemian-style bag, while a geometric pattern could suit a modern jacket.
When embroidering a leather wallet for a friend, I chose a design that reflected his love for nature and adventure.
Don’t be afraid to get creative and customize your design to make it your own.
Ultimately, the key is to choose a design that speaks to you and enhances the beauty of the leather.
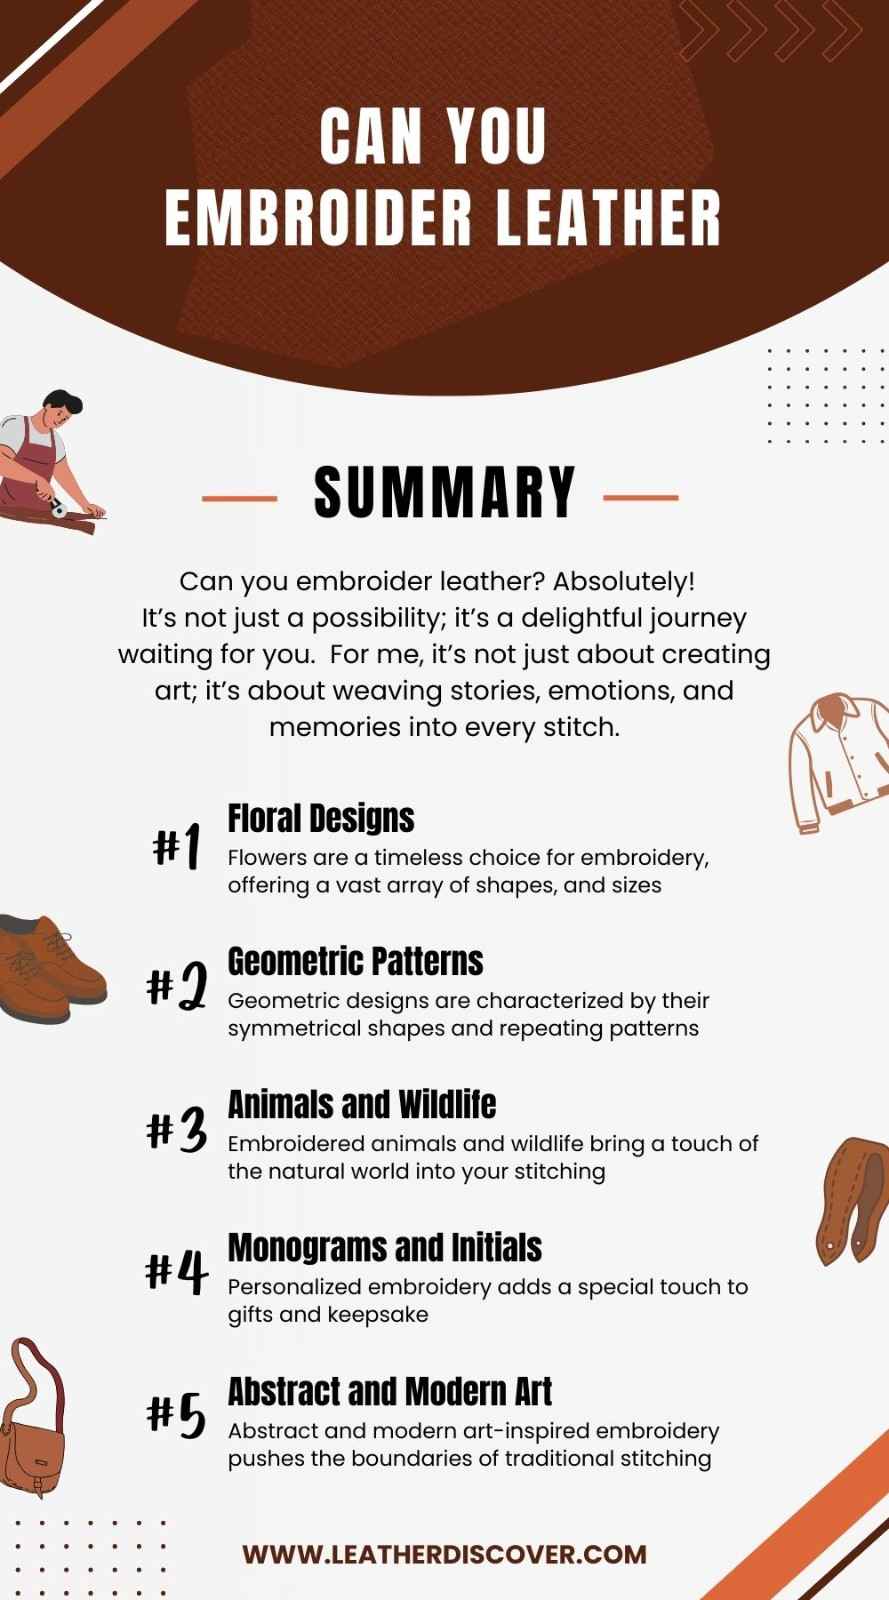
Some popular embroidery designs are:
- Floral Designs
- Geometric Patterns
- Animals and Wildlife
- Monograms and Initials
- Landscapes and Nature Scenes
- Abstract and Modern Art
- Vintage and Retro
- Holiday and Seasonal Designs
- Cultural and Ethnic Designs
- Quotes and Typography
Source: ksproductionstv YT Channel
Stitching in Style: Essential Tools and Materials
Here’s a simple table layout for the tools and materials needed for leather embroidery:
| Tools and Materials | Description |
|---|---|
| Specialized Needles | Needles designed for leatherwork, sharp and durable for tough surfaces. |
| Strong Thread | Polyester or nylon thread, resilient for leather embroidery. |
| Leather Hoop or Frame | Sturdy hoop/frame for stable stitching on leather. |
| Leather | High-quality, full-grain/top-grain leather, ideal for embroidery. |
| Marking Tools | Chalk, water-soluble markers, or specialized pens for design transfer. |
| Stabilizers | Prevent puckering and distortion during leather embroidery. |
| Thimble | Protects fingers and eases stitching, especially on thick leather. |
| Scissors | Sharp for trimming threads and making adjustments. |
Crafting Elegance: Techniques for Embroidering Leather
Here, we’ll explore techniques for embroidering on leather both by hand and using a machine.
1. Hand Embroidery on Leather
Embroidering leather by hand is a labor of love. Here’s how to do it:
Choose the Right Leather: I prefer working with soft, thin leather like lambskin or goat leather. It’s much easier to handle compared to the thicker, tougher kinds.
Stitching Techniques:
- Backstitch: Perfect for outlining and creating strong lines.
- Chain Stitch: Adds a lovely texture and is great for filling larger areas. When working on a piece that needs more texture, like a floral design, chain stitch is my favorite.
- Satin Stitch: Gives a smooth, even finish for filling shapes.
Piercing the Leather: Pierce the leather carefully to avoid enlarging the holes. Pre-punch holes for complex designs to ensure even stitching.
Thread Tension: Keeping consistent tension is key. I try not to pull the thread too tight to avoid wrinkling the leather.
2. Machine Embroidery on Leather
For machine embroidery, here’s my approach:
Select the Right Machine: I use a heavy-duty embroidery machine that can handle thick materials like leather.
Design Considerations: Choose simple designs with fewer stitches to prevent perforating and weakening the leather
Hooping and Stabilizing:
- Use a sticky, self-adhesive stabilizer to hold the leather in place.
- Instead of hooping the leather directly, I hoop the stabilizer. This prevents hoop marks and damage to the leather.
Embroidery Techniques:
- Tension Settings: Adjust the tension settings on your machine to handle the thickness of the leather.
- Speed: Slow down the machine’s stitching speed to give better control and reduce stress on the needle and thread.
- Test Stitching: Always do a test run on a waste piece of leather. This helps fine-tune the settings and ensure the design looks good.
Post-Embroidery Care: I use leather conditioners to restore flexibility and shine to the embroidered areas.
Resources Consulted

- What Is Caiman Leather? A Detailed Guide - July 25, 2024
- What Is Tumbled Leather?A Complete Guide - July 25, 2024
- What Is Kip Leather? Premium Leather Choice - July 24, 2024