We all get attached to our leather purses.
But what happens when that vibrant color starts to fade, or a few scuffs begin to show the stories of its adventures?
Do you toss it aside, heartbroken? Not!
Here’s a budget-friendly solution that can breathe new life into it: dyeing!
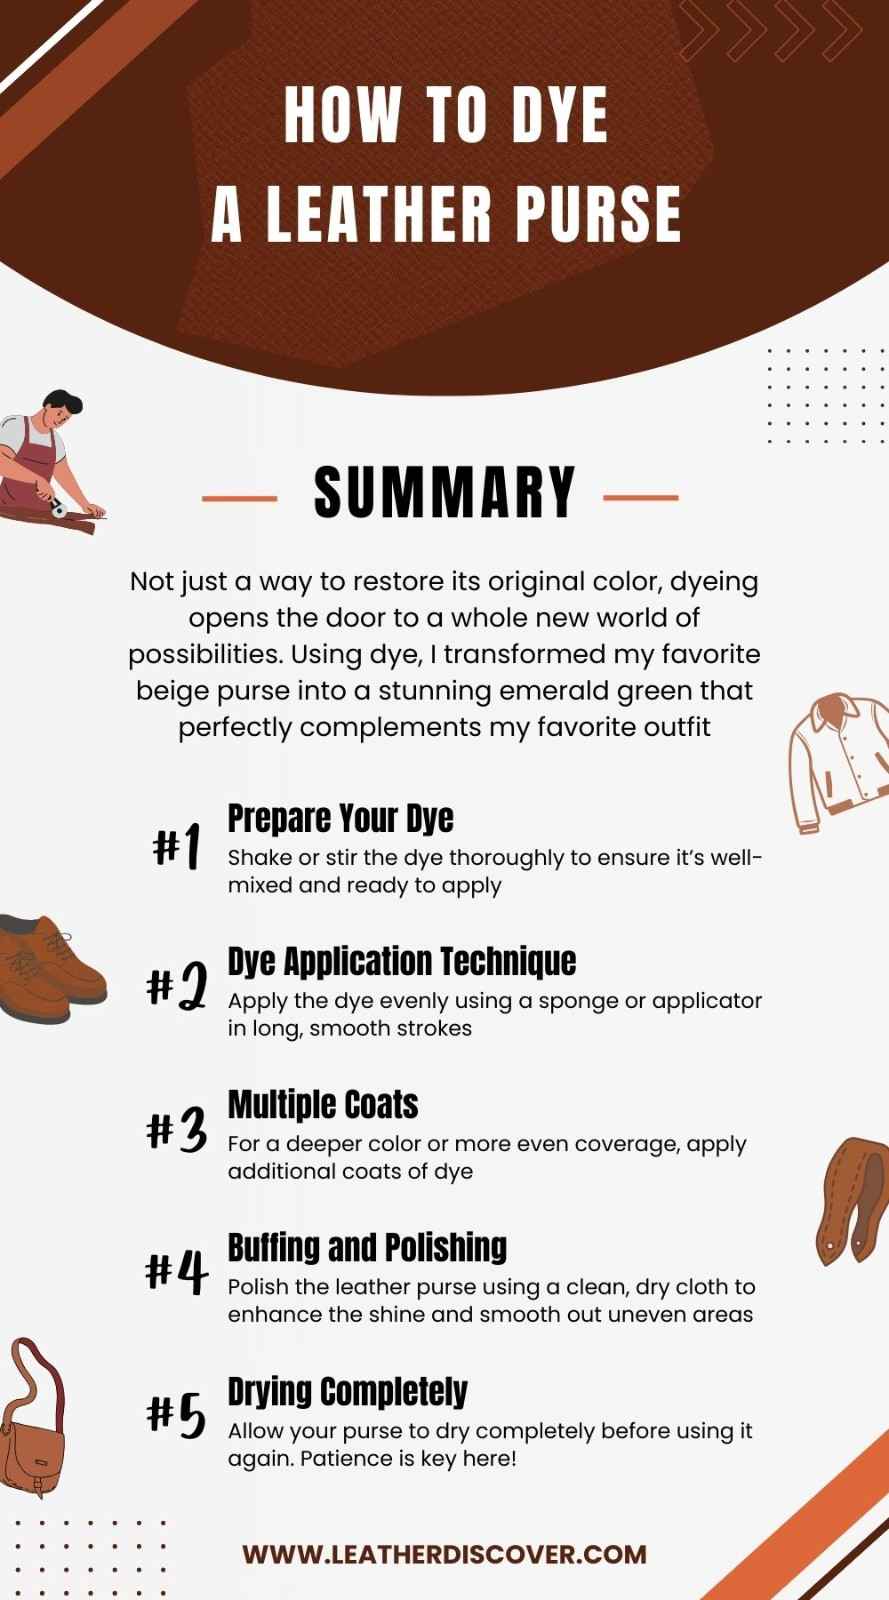
Not just a way to restore its original color, dyeing opens the door to a whole new world of possibilities
Using dye, I transformed my favorite beige purse into a stunning emerald green that perfectly complements my favorite outfit
In this blog, we explore the art of dyeing a leather purse, from choosing the right dye to achieving a flawless finish that renews your favorite accessory.
Preparing Your Leather Purse for Dyeing
Trust me, getting everything set up right from the start makes a world of difference. Here’s how to prep your purse for dyeing like a pro.
1. Gather Your Materials
First, gather all the materials. Here’s what you’ll need:
- Leather dye
- Leather cleaner or mild soap
- Soft cloths or sponge applicators
- Protective gloves
- Mask or respirator (totally optional but good for ventilation)
- Newspaper or plastic sheets to protect your workspace
2. Clean the Leather Purse
Give your purse a good wipe-down. Focus on areas that tend to collect the most dirt, like the handles and around the buckle. You know, those places your hands touch all the time?
3. Test the Dye
It’s a good idea to do a patch test on a hidden area of your purse before dyeing. This way, you can make sure it doesn’t cause any weird discoloration surprises later.
4. Protect Yourself
If the dye has a strong smell, consider wearing a mask or respirator, especially in enclosed spaces.
When I dyed my purse, I set up a little dye station in my kitchen with all these essentials. It made the whole process smooth and enjoyable, and my purse turned out fabulous!
Precautions to Take
Here are some essential precautions to ensure everything goes smoothly:
Ventilation is Key: Most dyes, especially alcohol-based ones, have strong fumes. Always dye in a well-ventilated area with open windows or, weather permitting, outdoors.
Gloves Are Your BFF: Dyes can stain skin, so wear gloves to protect your hands. I once skipped the gloves and had green fingers for days.
Keep Clean-Up Supplies Handy: Dyes can be messy business. Protect your workspace with a drop cloth or plastic sheet.
Test Before You Transform: Before dyeing your entire purse, do a test patch on a hidden area. This checks for color compatibility and any adverse reactions on the leather.
Step-By-Step Guide to Applying Dye to Leather Purse
1. Prepare Your Dye
Shake or stir the dye thoroughly to ensure it’s well-mixed and ready to apply. If using a brush, choose one appropriate for smooth application.
2. Dye Application Techniques
For Large Areas: Apply the dye evenly using a sponge or applicator in long, smooth strokes. Start with thin coats and layer gradually for better control and coverage.
For Edges and Seams: Apply dye precisely along edges and seams with a small brush for clean lines. Use masking tape to maintain sharp edges if you prefer a clean, professional finish.
3. Drying Time and Recoating
Follow these guidelines for optimal drying and layering:
Follow the Manufacturer’s Instructions: Drying times can vary depending on the dye and leather type. Always refer to the dye manufacturer’s instructions for recommended drying times between coats.
Multiple Coats: For a deeper color or more even coverage, apply additional coats of dye following the same technique as the first coat. Allow each coat to dry completely before applying the next.
4. Finishing Touches and Aftercare
After the dye has dried completely, apply a leather conditioner to moisturize and protect the leather purse.
This step helps maintain the suppleness and longevity of your newly dyed purse.
5. Buffing and Polishing
If desired, polish the leather purse using a clean, dry cloth to enhance the shine and smooth out any uneven areas.
6. Drying Completely
Allow your purse to dry completely before using it again. This ensures the dye sets properly and prevents any color transfer. Patience is key here!
Exploring Other Leather Dyeing Techniques
Beyond the standard application methods, leather dyeing offers exciting techniques for creating unique effects on your projects. Here are a few to consider:
Antiquing: Achieve a vintage look by applying an antiquing solution over the base dye. It adds depth and character, giving your purse a timeless appeal.
Two-Toning: Create a beautiful color gradient by blending two or more colors. Apply one color as a base coat, then use a damp sponge or rag to dab on another color, allowing them to blend slightly at the edges.
Stenciling: Add intricate designs or patterns using stencils. It’s like customizing your purse with wearable art. I once stenciled floral patterns on a plain leather bag, and it turned heads wherever I went.
Spray Dyeing: Spray dyeing allows for even application over large areas and can be used for creating layered color effects.
Common Mistakes to Avoid
Here are some common mistakes to avoid when exploring leather dyeing techniques:
Skipping Surface Prep: Leather needs a clean and prepped surface for even dye absorption. Failing to clean and remove oils or dirt can lead to patchy or uneven dyeing.
Rushing the Process: Leather dyeing takes time. Rushing can result in a blotchy color, stiff leather, or even damage to the material.
Over-Soaking the Applicator: Too much dye on your applicator can lead to uneven application and potential bleeding or dripping.
Improper Drying: Improper drying can trap moisture and lead to cracking or peeling of the dye.
Using the Wrong Products: Not all dyes are created equal. Choose conditioners designed for your leather purse to avoid damaging the finish.
Do’s and Don’ts of Leather Dyeing
Here are some essential do’s and don’ts to ensure success:
| Do | Don’t |
|---|---|
| Ensure good ventilation and protect surfaces with drop cloths. | Skip prepping your workspace. |
| Check for color compatibility and leather reaction. | Dye the entire project untested. |
| Build color gradually for better control. | Apply thick coats of dye. |
| Ensures precise application. | Neglect hard-to-reach areas. |
| Allow complete drying between coats. | Rush the drying process. |
| Condition after Dyeing | Skip leather conditioning. |
| Avoid over-saturation and dripping. | Drench the applicator in dye. |
| Perfect your technique before tackling your project. | Dye directly on your project without testing. |
| Remove dirt and oils for even dye absorption. | Dye unclean leather. |
| Protect yourself from fumes. | Skip safety precautions. |
| Choose products formulated for leather. | Use generic dyes or conditioners. |
How to Maintain Your Dyed Leather Purse
Maintaining a dyed leather purse ensures it stays vibrant and beautiful for years. Here’s how to care for your newly transformed purse:
- Keep away from direct sunlight and damp environments.
- Apply leather conditioner to maintain suppleness.
- Store in a dust bag to prevent dust and light exposure.
- Avoid rough handling to preserve color and finish.
- Consult a leather cleaner for deep stains or damage.
- Check for signs of wear regularly.
Source: Insider Art YT Channel
Conclusion
Giving your leather purse a dye makeover is a fun and rewarding project.
By following the steps outlined in this guide, you can achieve stunning results and extend the life of your beloved leather purse.
Remember, proper aftercare is key to maintaining the vibrant color. Enjoy hanging out with your beautifully renewed purse!
Resources Consulted

- What Is Caiman Leather? A Detailed Guide - July 25, 2024
- What Is Tumbled Leather?A Complete Guide - July 25, 2024
- What Is Kip Leather? Premium Leather Choice - July 24, 2024