Want to treat your dog to something extra special?
Store-bought collars are great, but there’s something truly heartwarming about creating a personalized masterpiece for your pet.
Crafting my first custom leather collar for my dog was a real delight. It fit him perfectly and showed off his adventurous spirit.
In this blog post, I’m excited to share everything I’ve learned about crafting these unique accessories.
From choosing the finest leather to adding your personal touch that makes it uniquely yours, I’ll walk you through each step.
How to Make a Leather Dog Collar?
Here’s a step-by-step guide to help you craft a durable and stylish leather collar:
Tools & Materials:
To create a handmade leather dog collar, you’ll need a few essential materials and tools:
- Leather
- Buckle
- D-ring
- Rivets or Stitching
- Edge Finish
- Cutting Mat
- Rotary Cutter or Utility Knife
- Hole Punch
- Edge Beveler and Burnisher
1. Choose the Right Leather
Choosing the ideal leather for your dog’s collar is essential in crafting a long-lasting accessory that complements their style.
When picking out leather for my dog’s collar, I opted for solid yet supple full-grain leather. It’s strong enough to handle outdoor adventures but soft enough to ensure my pet’s comfort.
Consider factors like thickness, typically 8-10 ounces for medium to large dogs, and flexibility to ensure it’s comfortable against their neck.
If you prefer a collar that’s kind to the environment and safe for your pet, vegetable-tanned leather is a great choice.
For something unique, you can explore exotic leathers like ostrich or alligator, though these are more luxurious and may require special care.
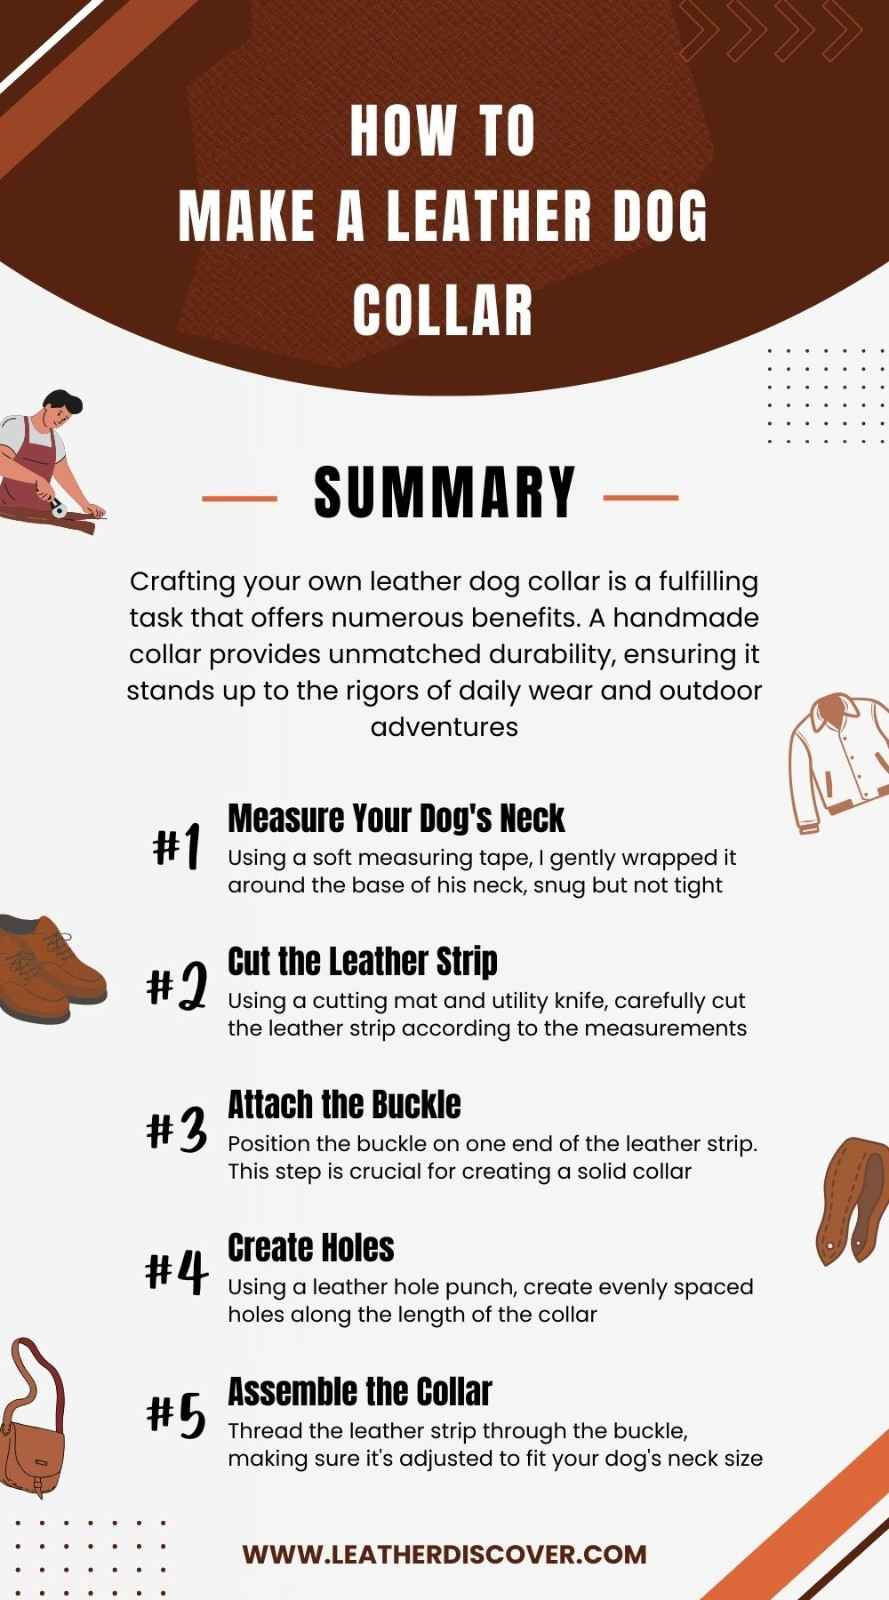
2. Measure Your Dog’s Neck
When I made my dog’s collar, getting the measurement spot-on was key to ensuring a perfect fit.
Using a soft measuring tape, I gently wrapped it around the base of his neck, snug but not tight.
Make sure you can fit two fingers comfortably between the tape and your dog’s neck to ensure it’s not too tight. Note down the measurement in inches or centimeters.
3. Cut the Leather Strip
Using a cutting mat and utility knife, carefully cut the leather strip according to the measurements taken.
I found that using a ruler helped ensure a straight and even cut.
The width of the strip should be appropriate for your dog’s comfort, typically around 1-1.5 inches for medium to large dogs.
Take your time to make precise cuts, this will impact the collar’s overall appearance and durability.
4. Attach the Buckle
Position the buckle on one end of the leather strip. I made sure it was centered and secure before folding the end over and fastening it with rivets.
This step is crucial for creating a solid collar.
5. Create Holes
Using a leather hole punch, create evenly spaced holes along the length of the collar. I found it helpful to mark the positions beforehand for uniformity.
The holes should be large enough to accommodate the buckle tongue for easy adjustment.
Typically, creating about five holes, each spaced an inch apart, allows for flexibility in adjusting the collar’s fit.
6. Edging and Beveling the Leather
When I made my dog’s collar, I quickly realized that rough edges could be uncomfortable for him.
Here’s the corrected version:
Carefully trim the sharp edges off the leather strip with an edge beveler. This simple step smooths out the sides and gives the collar a more refined look.
Burnishing the edges with water and a wooden burnisher adds a polished finish.
6. Decorate
Adding decorative elements to your dog’s collar is where you can let your creativity shine.
Studs can add a touch of flair to your collar. You can also use decorative stamps to create patterns or images.
I personalized the collar by stamping my dog’s name onto the leather.
Leather paints and dyes can add a splash of color to your collar. Use paints specifically designed for leather to ensure they adhere properly and don’t crack.
7. Assemble the Collar
Thread the leather strip through the buckle, ensuring that it is positioned correctly for your dog’s neck size.
I double-checked the fit before securing the end by folding it over and using rivets. This step completed the basic structure of the collar.
8. Finishing Touches
To enhance the collar’s appearance, I trimmed excess leather for a neat finish.
Applying leather glue to the ends helped secure them and prevent fraying over time. These final touches added durability to the collar.
Source: J.H. Leather YT Channel
How to Care for and Clean a Leather Dog Collar?
Keeping your dog’s leather collar in top shape ensures it lasts long and looks great. Here’s a guide on how to care for and clean a leather dog collar:
Regular cleaning helps maintain the leather’s appearance and durability. After our daily walks, I use a damp cloth to wipe off dirt or debris from the collar.
Every few months, I give the collar a deep clean and condition to keep the leather supple and prevent it from drying out:
Sometimes, the collar can pick up odors, especially if your dog loves to roll around in everything. I sprinkle a bit of baking soda on the collar and let it sit overnight. The baking soda absorbs any unwanted smells.
While a bit of rain won’t ruin your collar, try to keep it from getting soaked. If your dog loves swimming, it might be best to swap to a waterproof collar for those activities.
When not in use, store the collar in a cool, dry place. Avoid leaving it in direct sunlight or hot cars, as extreme temperatures can damage the leather.
I regularly check the collar for signs of wear and tear. If I notice any cracks or weak spots, I address them immediately to prevent further damage.
Having a couple of collars to rotate can give each one a break and reduce the wear and tear on a single collar. Plus, it’s fun to switch up my dog’s look now and then.
Source: Brown Down Leather Co YT Channel
Conclusion
Crafting your leather dog collar is a fulfilling task with numerous benefits.
Beyond the satisfaction of creating something by hand, a handmade collar provides unmatched durability, ensuring it stands up to the rigors of daily wear and outdoor adventures.
By selecting high-quality leather and tailoring the collar to fit your dog perfectly, you prioritize comfort and style.
The customization aspect allows you to personalize every detail, from choosing the type of leather and hardware to adding decorative touches that reflect your dog’s personality.
Now that you have all the steps and tips, why not give it a try? Making a leather dog collar can be fun and rewarding, even if you’re a beginner.
Resources Consulted

- What Is Caiman Leather? A Detailed Guide - July 25, 2024
- What Is Tumbled Leather?A Complete Guide - July 25, 2024
- What Is Kip Leather? Premium Leather Choice - July 24, 2024