Craftsmanship is an art cherished for generations, with leatherwork standing out as a timeless skill that incorporates both beauty and utility.
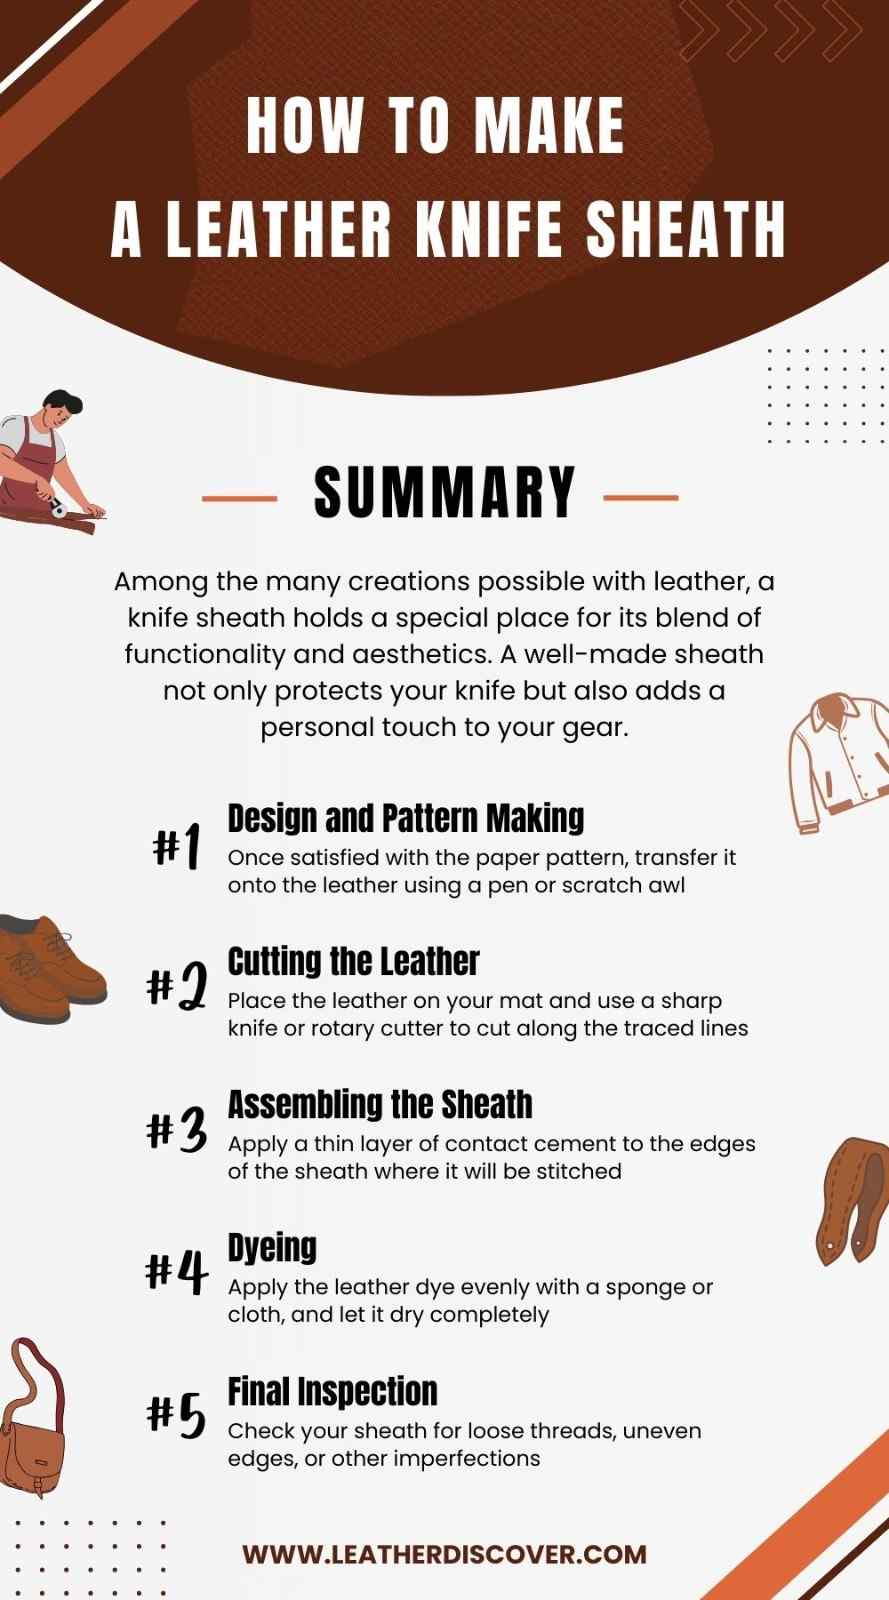
Among the many creations possible with leather, a knife sheath holds a special place for its blend of functionality and aesthetics
A well-made sheath not only protects your knife but also adds a personal touch to your gear.
This guide will walk you through the process of making a leather knife sheath from start to finish, ensuring a high-quality result that’s both functional and visually appealing.
How to Make a Leather Knife Sheath?
Here’s a detailed answer to the query “How to make a leather knife sheath?”
1. Materials and Tools You’ll Need
Before you start, gather the following materials and tools:
| Materials | Purpose |
|---|---|
| Vegetable-tanned Leather | The main material for the sheath was chosen for its durability and workability. |
| Thread (Waxed Polyester or Nylon) | Used for stitching the leather pieces together securely. |
| Contact Cement or Leather Glue | Bonds leather pieces temporarily before stitching. |
| Edge Finishing Product (e.g., Gum Tragacanth) | Smoothes and seals the edges of the leather. |
| Leather Dye (Optional) | Colors the leather to achieve the desired appearance. |
| Rivets or Snaps (Optional) | Adds functional and decorative elements to the sheath. |
| Sharp Knife or Rotary Cutter | Cuts the leather to the required shapes and sizes. |
| Cutting Mat | Protects your work surface and ensures precise cuts. |
| Metal Ruler | Guides straight cuts and measurements. |
| Stitching Awl | Creates stitching holes in the leather. |
| Needles (Blunt-tip Leather Needles) | Used for saddle stitching the leather pieces together. |
| Mallet | Sets rivets or snaps and helps with other tasks requiring gentle force. |
| Stitching Groover | Creates a groove for stitching, ensuring even and straight stitches. |
| Edge Beveler | Rounds off the edges of the leather for a finished look. |
| Burnishing Tool | Smoothes and polishes the edges of the leather. |
| Hole Punch | Punches holes for stitching, rivets, or snaps. |
| Sandpaper (Fine Grit) | Smoothes rough edges and surfaces of the leather. |
| Clamps or Clips | Holds the leather pieces together while the glue dries. |
2. Step-by-Step Guide
Here are some simple 6 steps on how to make a leather knife sheath:
Step 1. Design and Pattern Making
- Determine the Sheath Style: Decide whether you want a fold-over sheath, a pouch sheath, or a scout carry sheath. Each style has its unique look and function.
- Create a Pattern: Using a piece of paper, trace the outline of your knife, adding about ¾ inch around the blade for seam allowance and about 2 inches at the top for the belt loop. Ensure the pattern fits your knife snugly but allows easy insertion and removal.
- Transfer the Pattern: Once satisfied with the paper pattern, transfer it onto the leather using a pen or scratch awl. Make sure to mark where the stitching holes and belt loop will go.
2. Cutting the Leather
- Cutting: Place the leather on your mat and use a sharp knife or rotary cutter to cut along the traced lines. Precision is key here, as mistakes will be visible in the finished product.
- Beveling the Edges: Use an edge beveler to round off the edges of the leather pieces. This will give your sheath a more professional look and make it more comfortable.
3. Assembling the Sheath
- Gluing: Apply a thin layer of contact cement or leather glue to the edges of the sheath where it will be stitched. Press the pieces together and use clamps or clips to hold them in place while the glue dries. This step ensures that the pieces stay aligned during stitching.
- Stitching Holes: Using a stitching awl or a hole punch, create evenly spaced holes along the edges where you’ll sew. A stitching groover can help you create a straight, consistent line for your holes.
- Saddle Stitching: Thread your needles and begin saddle stitching. This involves, using two needles and passing them through each hole in opposite directions, creating a strong and durable stitch. Take your time to ensure the stitches are even and tight.
4. Finishing Touches
- Burnishing Edges: Apply water or edge finishing products like gum tragacanth to the edges and use a burnishing tool to smooth them out. This step improves the appearance and seals the edges to prevent fraying.
- Dyeing (Optional): If you want to dye your sheath, now is the time. Apply the leather dye evenly with a sponge or cloth, and let it dry completely. Finish with a leather conditioner or sealant to protect the dye.
- Adding Rivets or Snaps: If your design includes rivets or snaps, use a hole punch to create holes for them and set them with a mallet. These can add both functionality and aesthetic appeal to your sheath.
- Final Inspection: Check your sheath for loose threads, uneven edges, or other imperfections. Make any necessary adjustments to ensure your sheath is as perfect as possible.
Source: Simple Little Life YT Channel
Tips for Success
Creating a leather knife sheath can be a rewarding and fulfilling project. Here are some tips to help ensure your success:
- Use High-Quality Leather: The quality of the leather significantly affects the durability and appearance of your sheath. Choose vegetable-tanned leather, it is easier to work with and ages beautifully over time.
- Invest in Good Tools: Quality tools make the process easier and the final product more professional. Sharp knives, durable stitching awls, and reliable clamps are worth the investment.
- Take Accurate Measurements: Accurate measurements ensure your sheath fits the knife perfectly. Measure twice, and cut once. Double-check your pattern and measurements before cutting the leather.
- Practice on Scrap Leather: Practicing helps you get a feel for the material and the tools. Use scrap pieces to practice stitching, cutting, and finishing techniques before working on the final piece.
- Patience and Precision: Rushing can lead to mistakes that are hard to fix. Take your time with each step, ensuring precision in cutting, stitching, and finishing.
- Use Proper Stitching Techniques: Proper stitching ensures the sheath is strong and durable. Learn the saddle stitch technique, commonly used in leatherworking for its strength.
- Test Fit Before Final Assembly: Ensuring the knife fits properly before final assembly can save you from having to make adjustments later. Test the fit of the knife in the sheath after the initial gluing and before stitching.
Is Leather Good for Knife Sheaths?
Yes, leather is an excellent material for knife sheaths, and here’s why:
- Leather is known for its strength and longevity. High-quality leather, especially vegetable-tanned, can withstand wear and tear, making it a durable choice for protecting your knife.
- Leather provides excellent protection for the knife blade. It offers a snug fit that keeps the blade secure, preventing it from getting damaged or dull.
- Leather has a classic, timeless look. A well-crafted leather sheath can be functional and stylish, adding a personal touch to your gear.
- Leather is versatile and can be shaped and molded to fit any knife. It allows for custom designs and personalization, making each sheath unique.
- Leather is comfortable to carry. It is soft and flexible, conforming to your body over time, making it easier to wear on a belt or carry in a bag.
How Thick Is Leather Knife Sheath?
The thickness of a leather knife sheath can vary depending on the type of leather used, the style of the sheath, and the preferences of the maker or user.
In general, leather knife sheaths range from 2mm to 4mm in thickness.
Thicker leather sheaths are more durable and provide better protection for the knife, but they are also bulkier and less flexible.
Thinner leather sheaths are more lightweight and flexible, but they do not offer as much protection for the knife.
Ultimately, the thickness of a leather knife sheath is a matter of personal preference and intended use.
Uses of Leather Knife Sheath
A leather knife sheath serves multiple purposes, making it a versatile accessory for anyone who owns a knife. Here are some common uses of a leather knife sheath:
- Protection: One of the primary purposes of a leather knife sheath is to protect the blade of the knife. The sheath covers the sharp edge of the knife, preventing accidental cuts or injuries when the knife is not in use.
- Safety: A knife sheath provides a safe way to carry and store a knife. By securely holding the knife in place, the sheath prevents the knife from accidentally falling out and causing harm.
- Transportation: Leather knife sheaths are designed to make it easier to transport knives from one place to another. Whether you are hiking, camping, hunting, or just need to carry a knife for everyday tasks, a sheath allows you to keep the knife securely by your side for quick access when needed.
- Organization: Keeping your knives in sheaths helps to keep them organized and easily accessible. Instead of digging through a drawer or bag to find a knife, you can store them in sheaths hung on a wall or placed in a knife roll for quick identification and selection.
- Style: Leather knife sheaths can add a touch of style to your knife collection. With various designs, colors, and finishes available, you can choose a sheath that complements the look of your knife or matches your style.
- Customization: Leather sheaths can fit specific knife models or personal preferences. You can add tooling, stitching, or other embellishments to make your sheath unique and tailored to your taste.
Source: Wyoming Wright YT Channel
Conclusion
Crafting a leather knife sheath is a satisfying endeavor that combines creativity, precision, and practicality.
Whether you’re crafting a sheath for yourself or as a gift, the result is a personalized piece that showcases your craftsmanship.
Embrace the art of leatherwork and enjoy the satisfaction of making something truly exceptional with your own hands.
Resources Consulted

- What Is Caiman Leather? A Detailed Guide - July 25, 2024
- What Is Tumbled Leather?A Complete Guide - July 25, 2024
- What Is Kip Leather? Premium Leather Choice - July 24, 2024